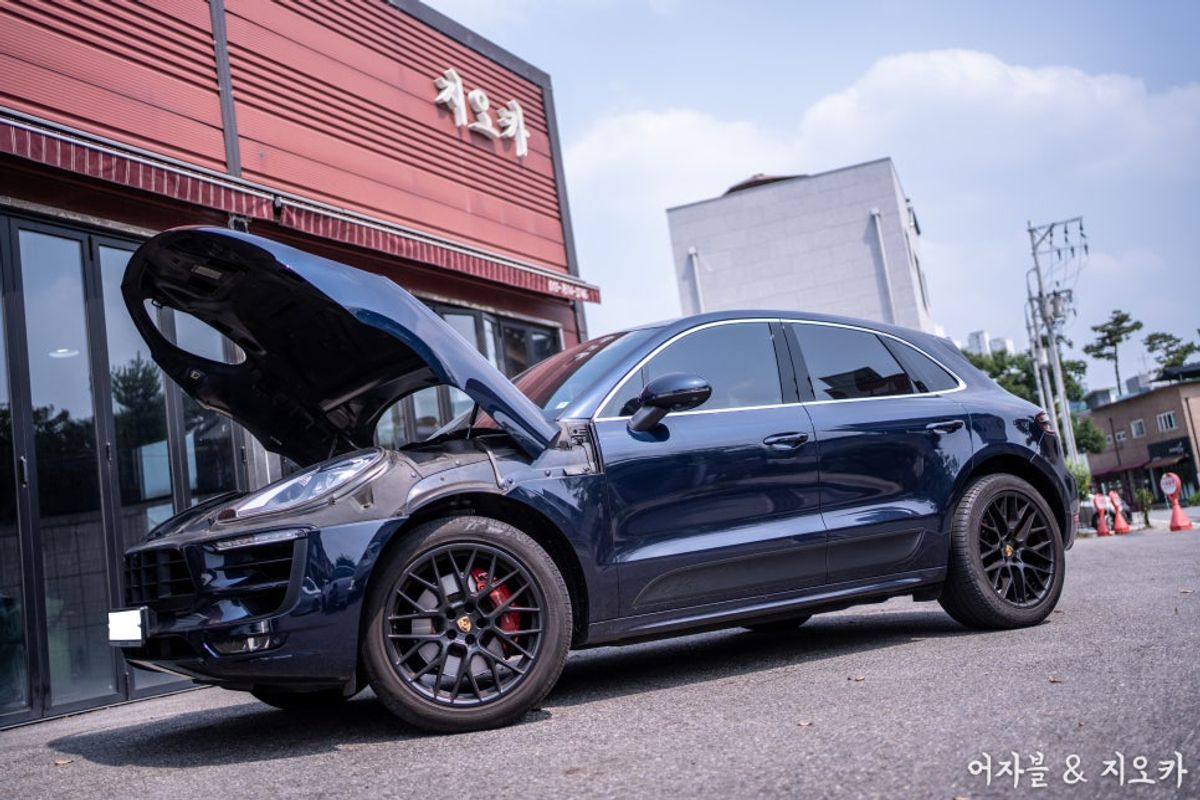
The warning light for the Porsche Macan GTS 3.0 turned on
Upon checking, it turned out to be an issue related to the oil pressure
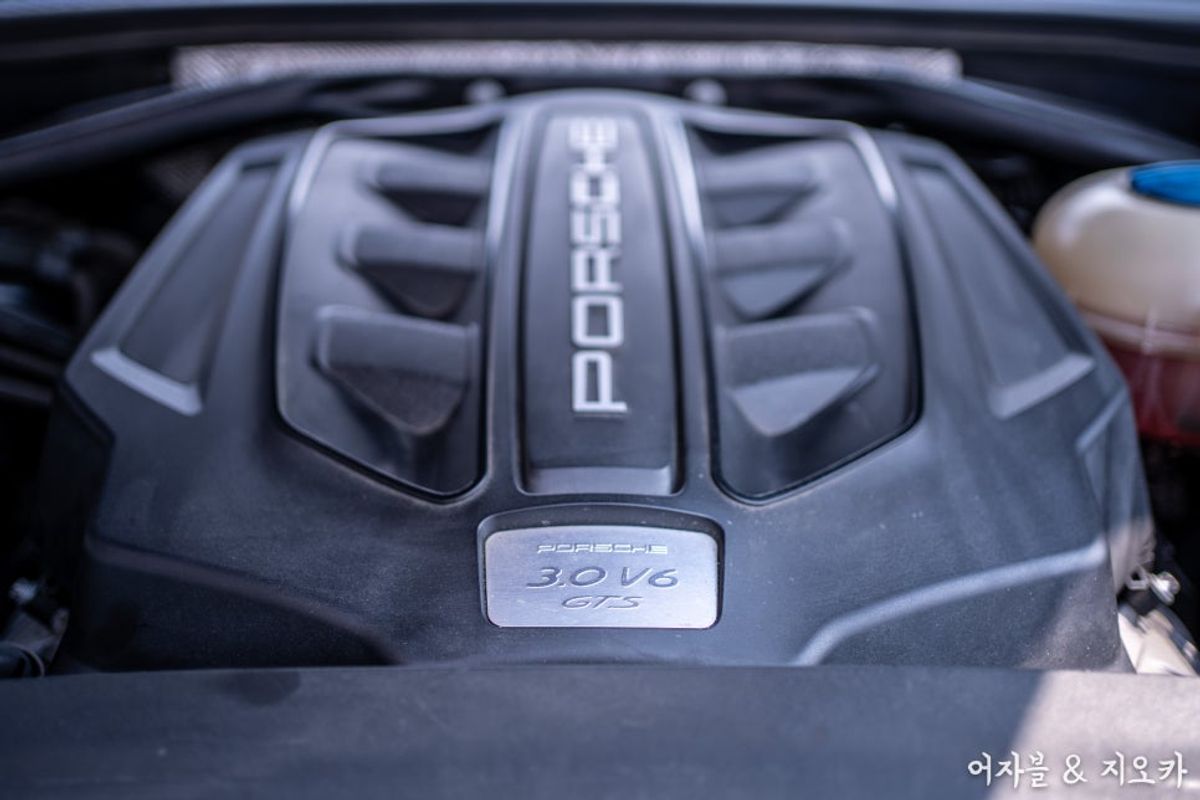
This symptom frequently occurs in the 3.0 GTS model
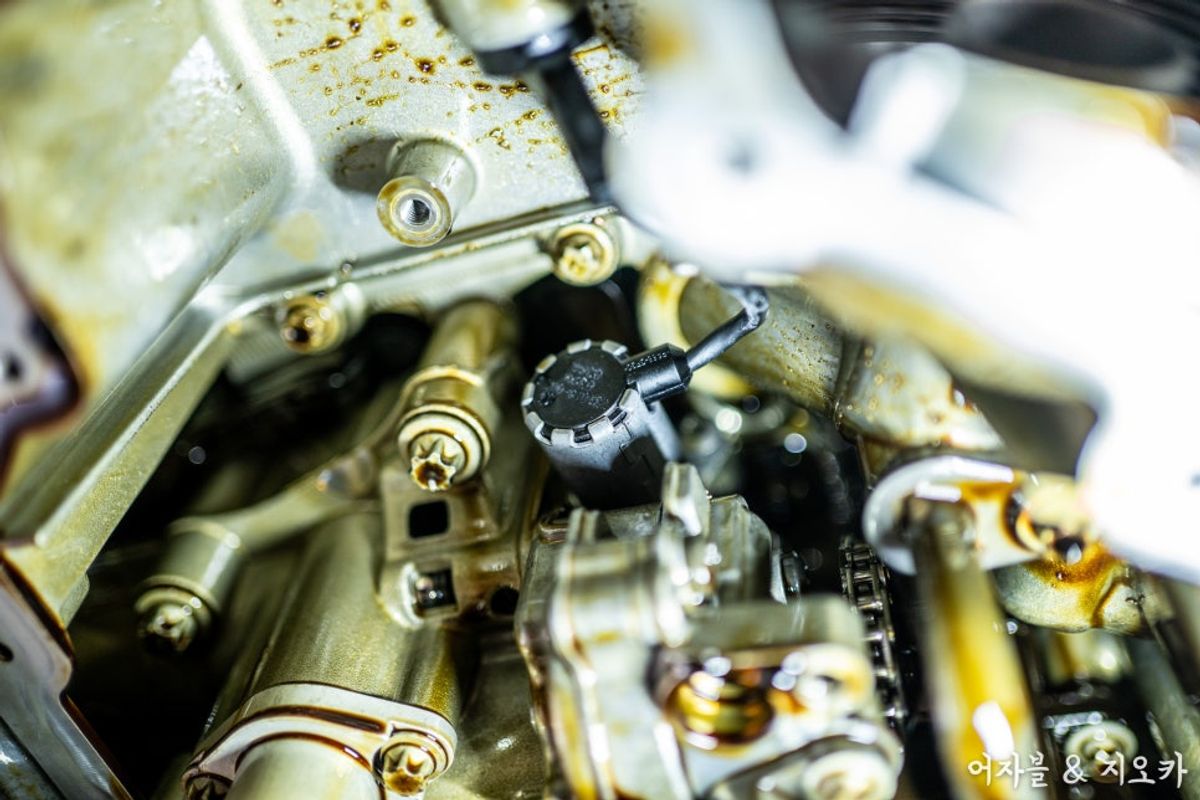
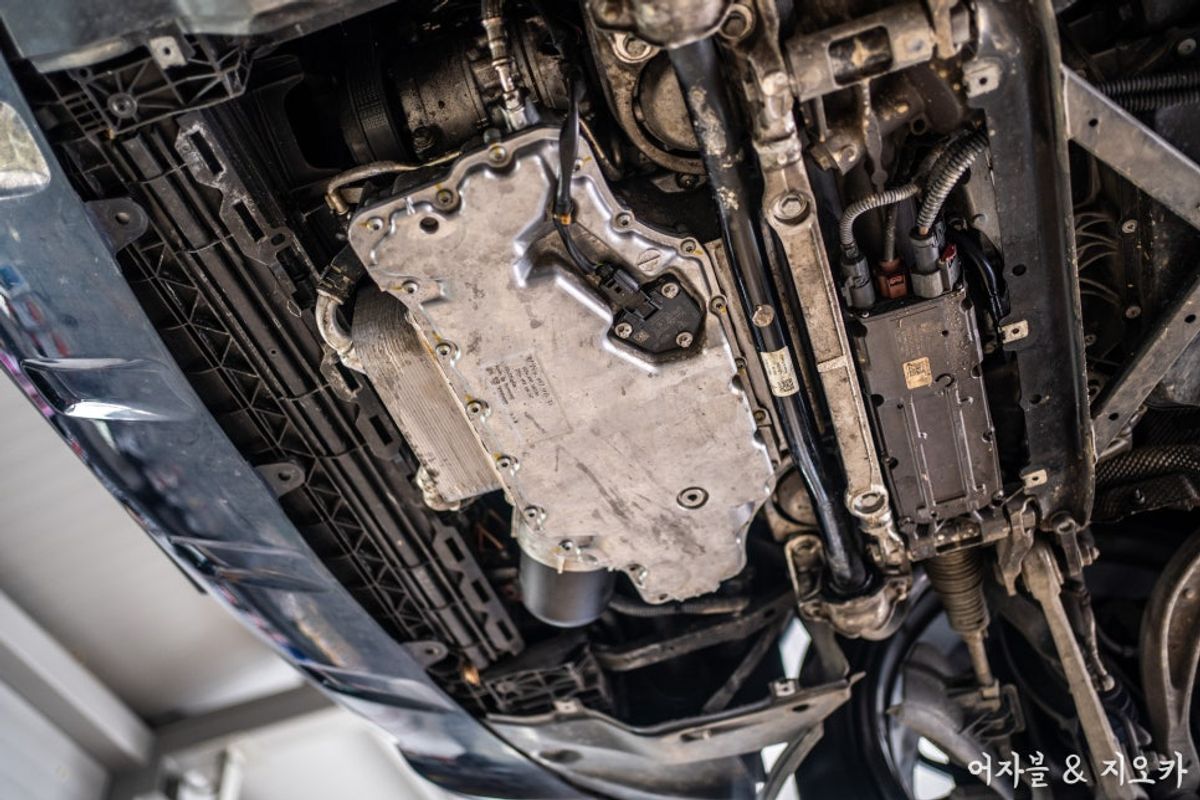
To resolve it, you need to replace the solenoid valve inside the oil pan and the oil pressure sensor
This is the maintenance that needs to be done.
Additionally, if you remove the oil pan for maintenance
all the engine oil will drain out, right!?
If you come in for your scheduled maintenance
you can even exchange the Macan engine oil set!
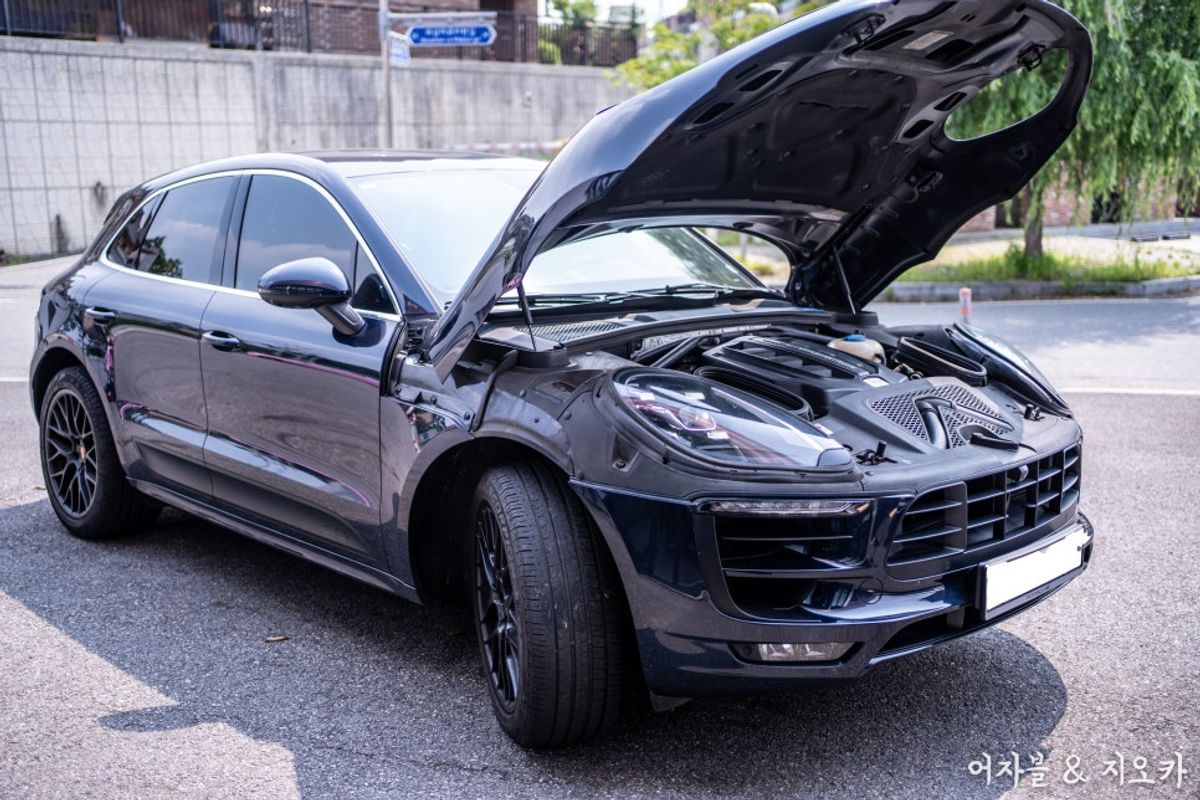
The Porsche Macan GTS 3.0
Engine warning light and engine oil change
The Porsche Macan GTS 3.0
Engine warning light and engine oil change
★This post features maintenance work we directly performed
including our shop [promotion] and maintenance sharing
in the form of images and text.
★Unauthorized use of images and copying is prohibited!
In the vicinity of Hwaseong, Dongtan, Osan, and Suwon
Porsche Macan repair and maintenance
and a place for consumables like engine oil!
NAVER & KAKAO " Gioka "
The Porsche Macan is serviced promptly.
We operate on an appointment basisto ensure that we finish neatly in a day!
You can trust us to handle your vehicle with care~
The work you trust us with
is documented with photos for the blog
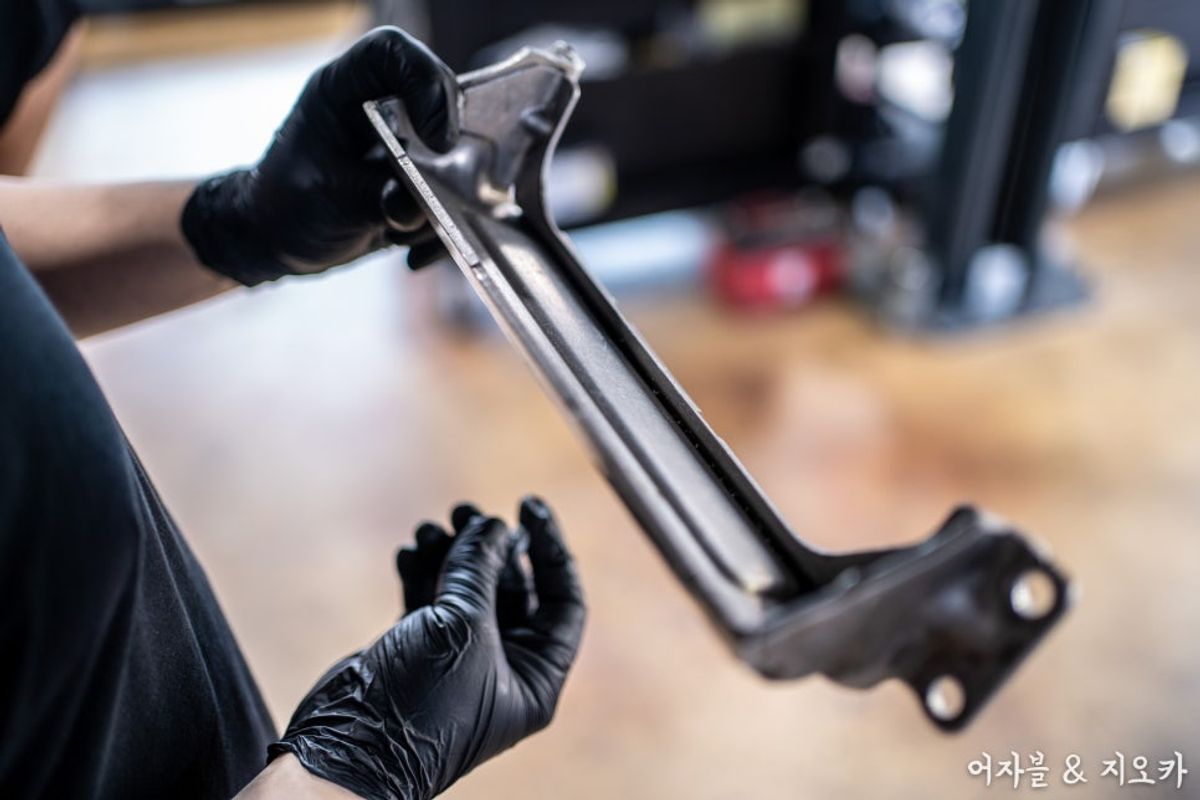
All parts photos are open for reference!
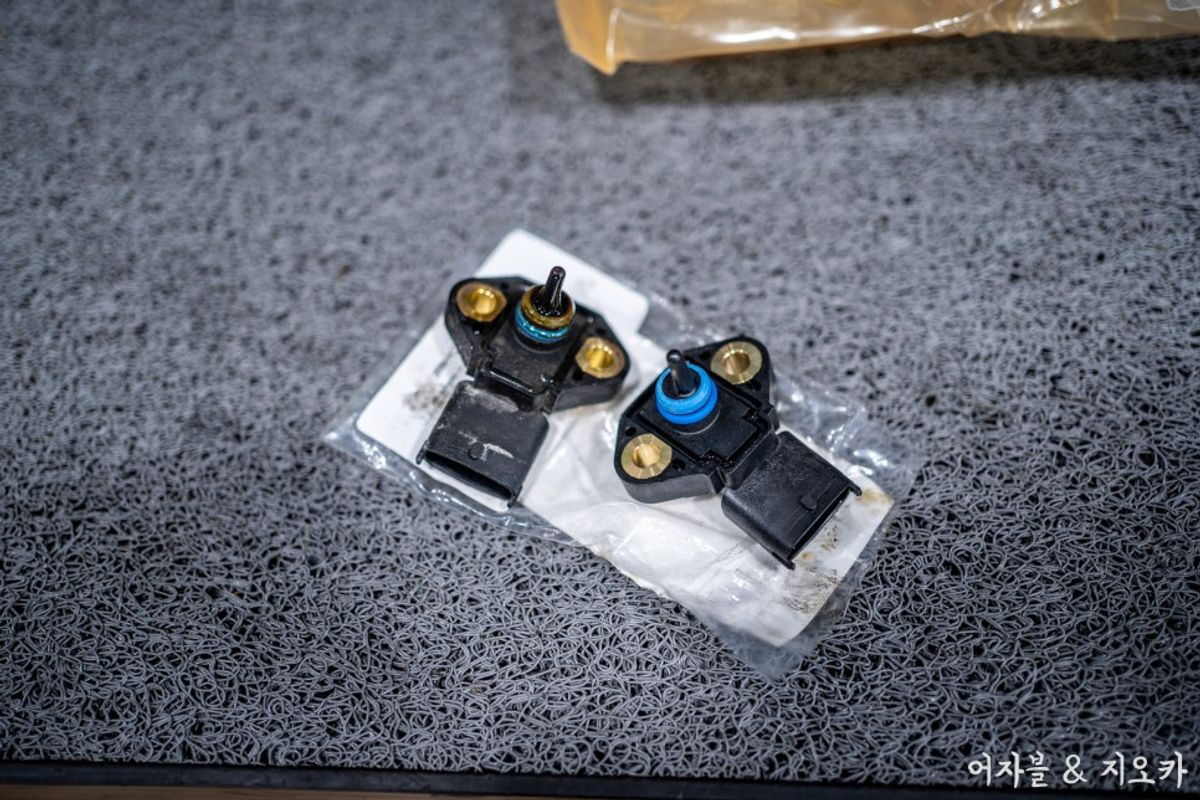
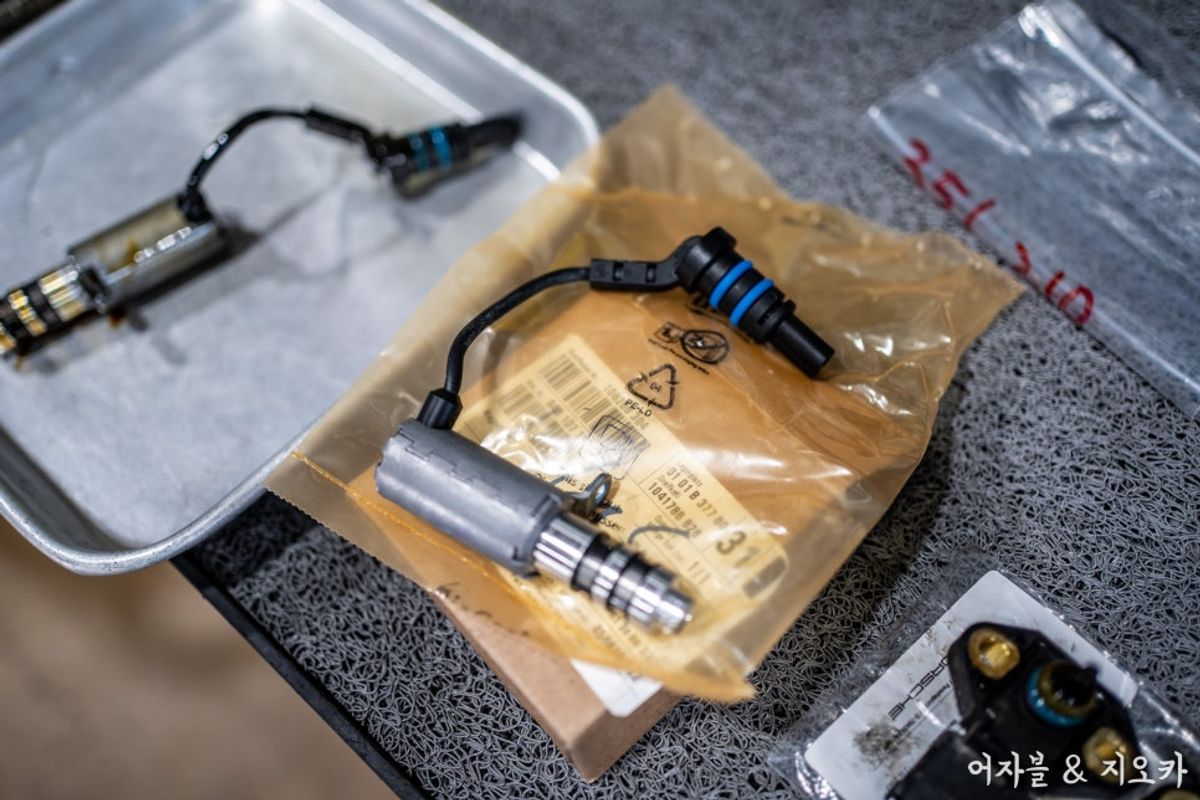
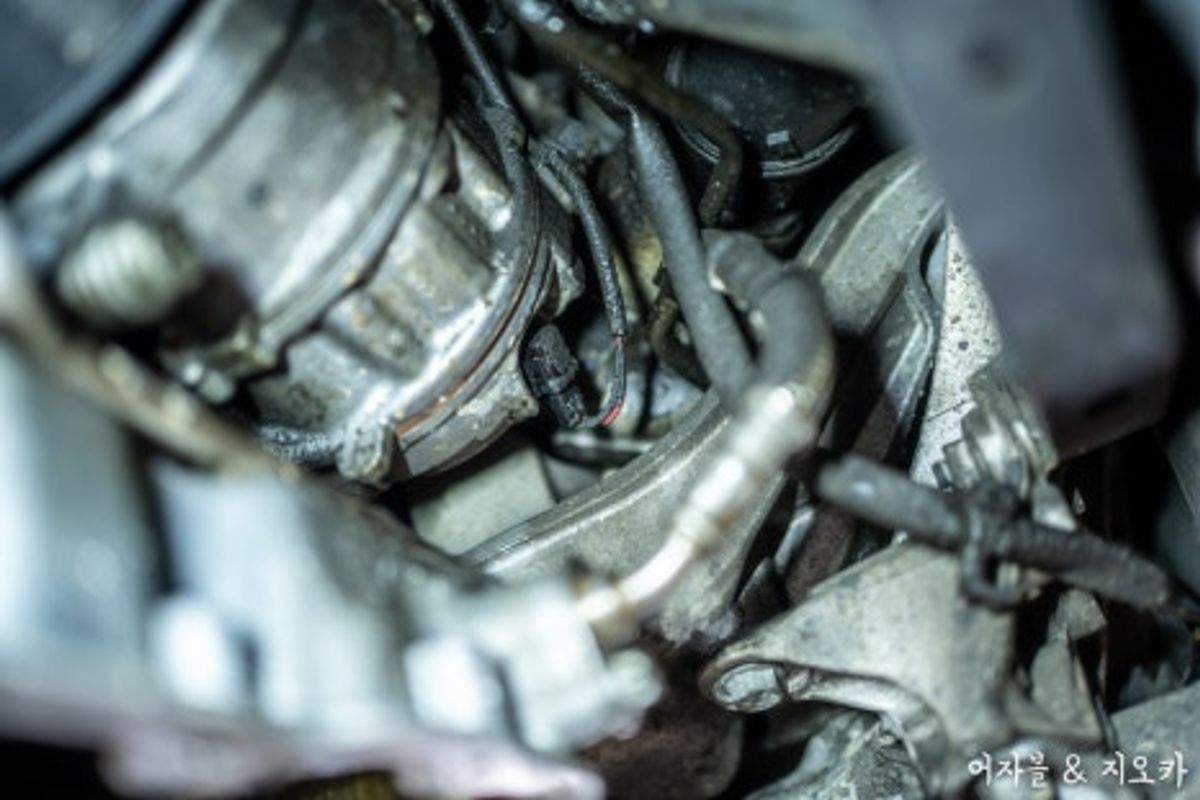
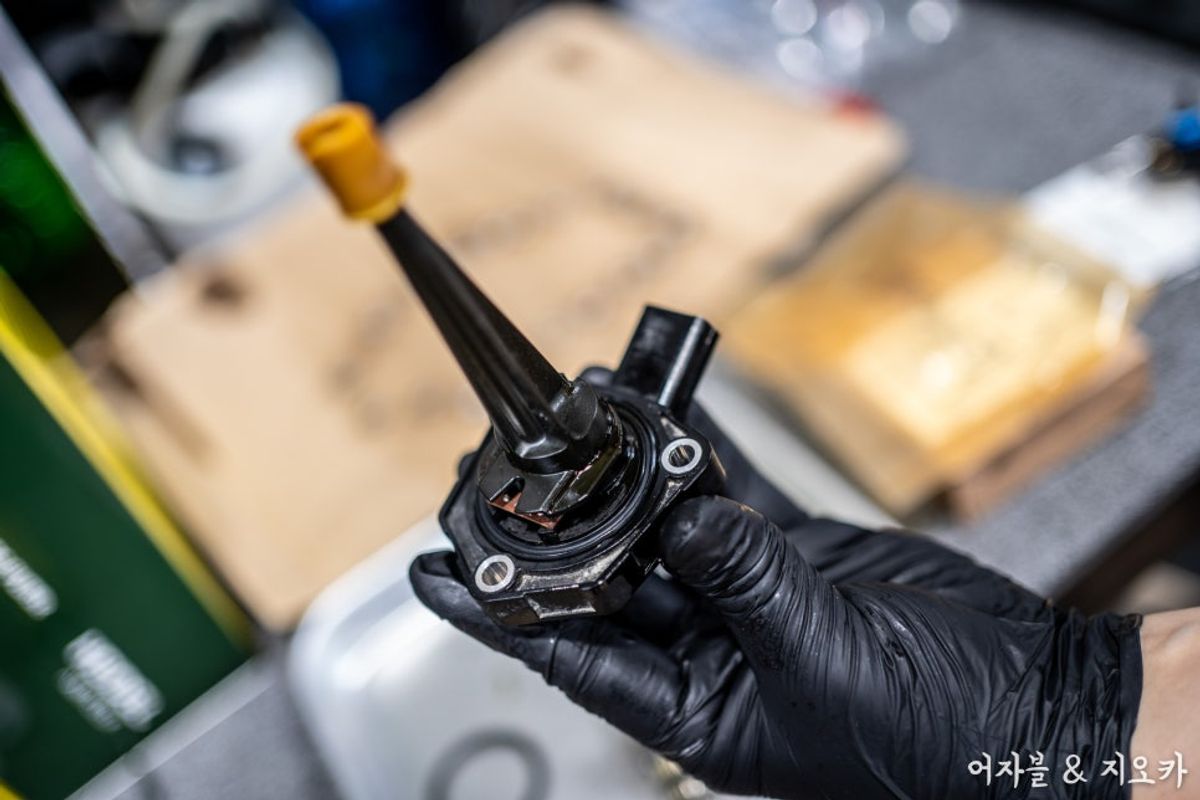
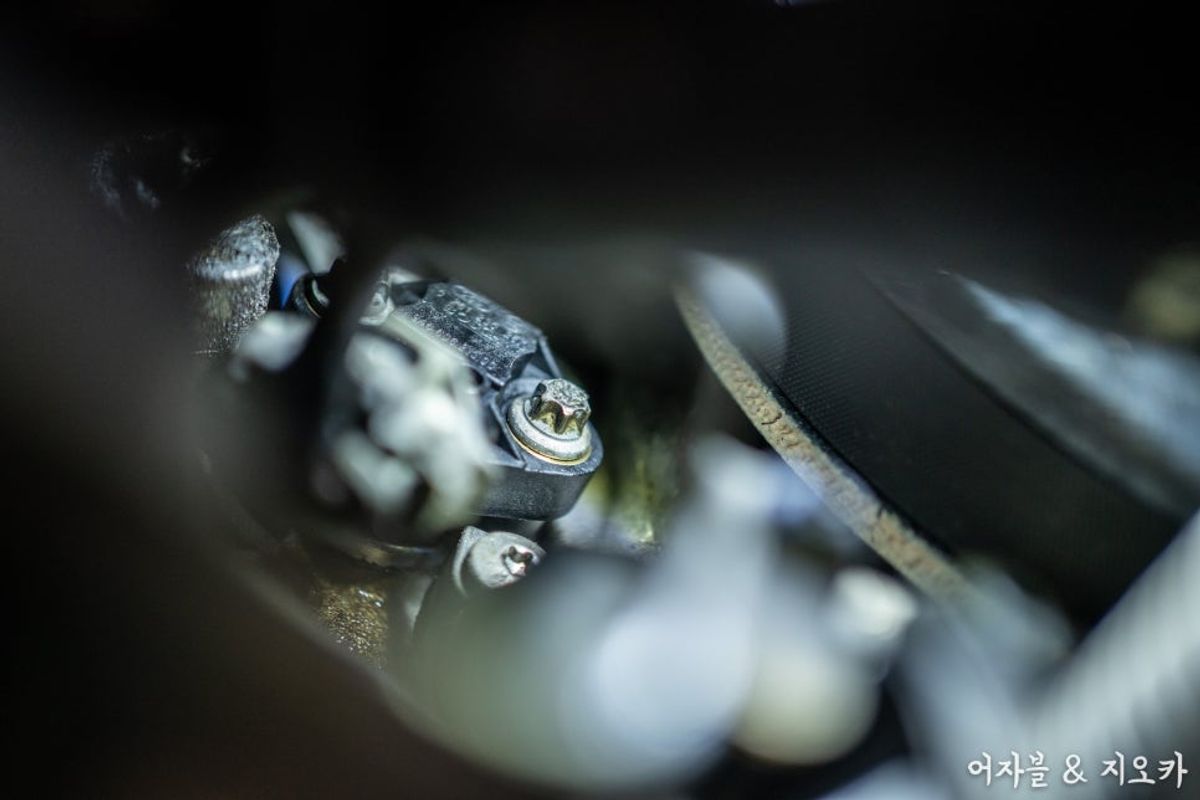
When the oil pressure warning light appears
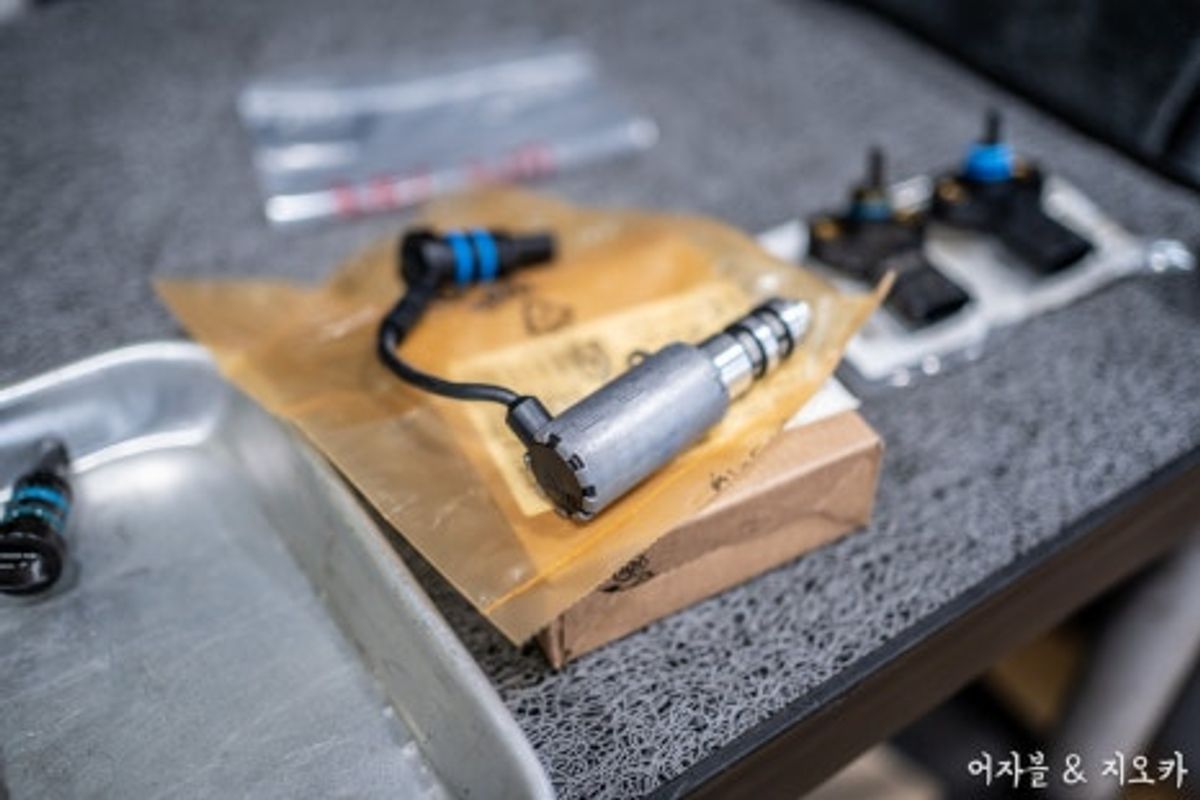
you need to replace this
oil pressure sensor
!
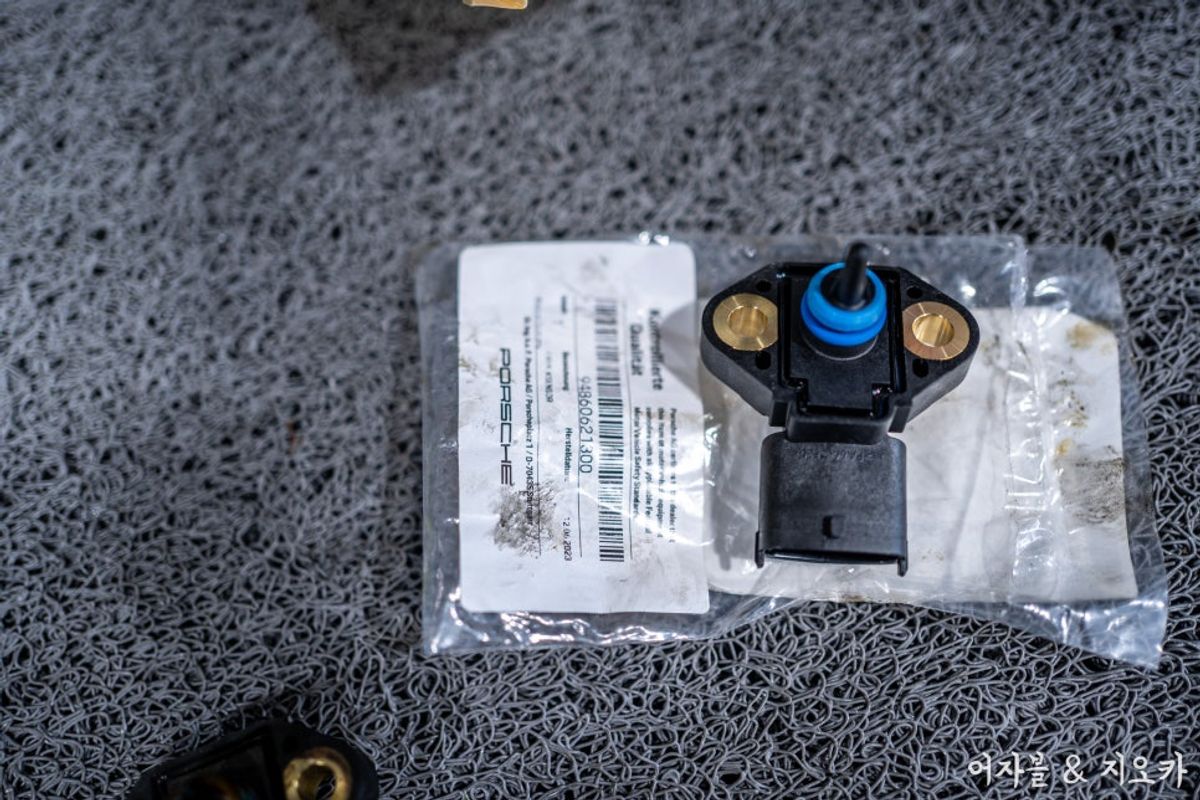
This specific part is only available as a genuine Porsche part... unfortunately ;(
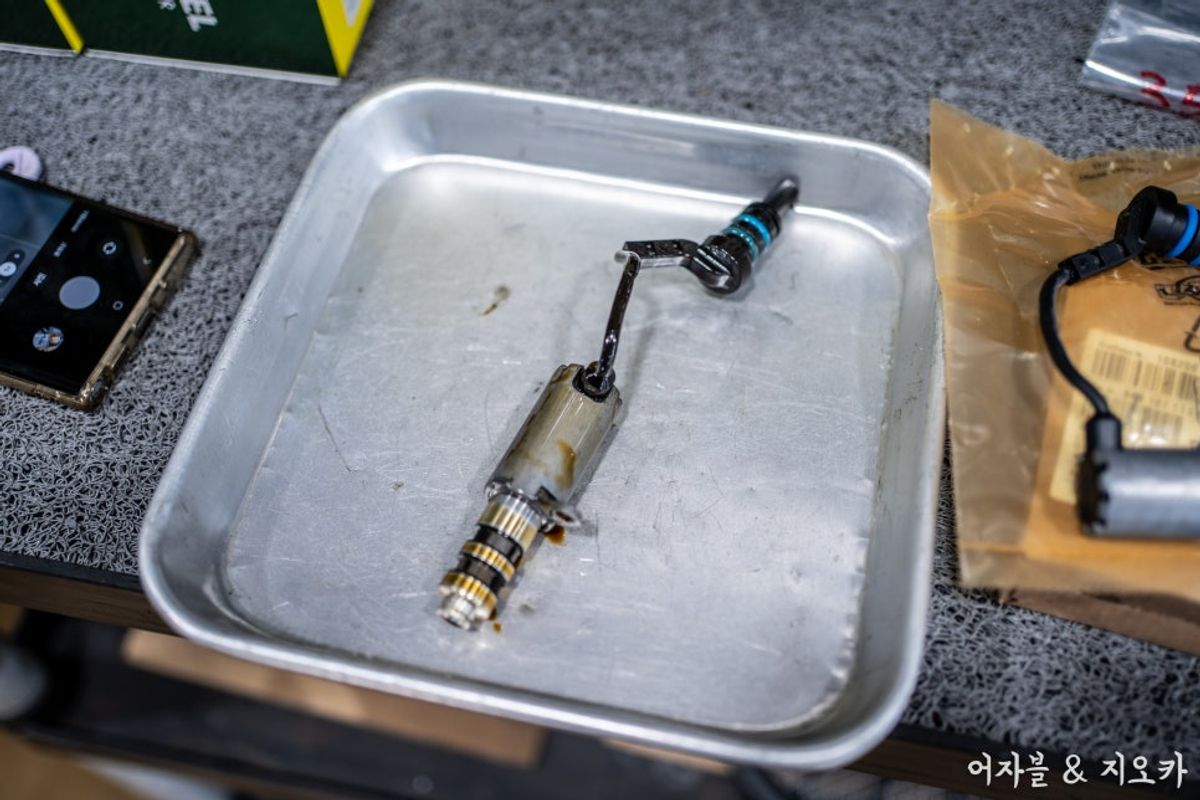
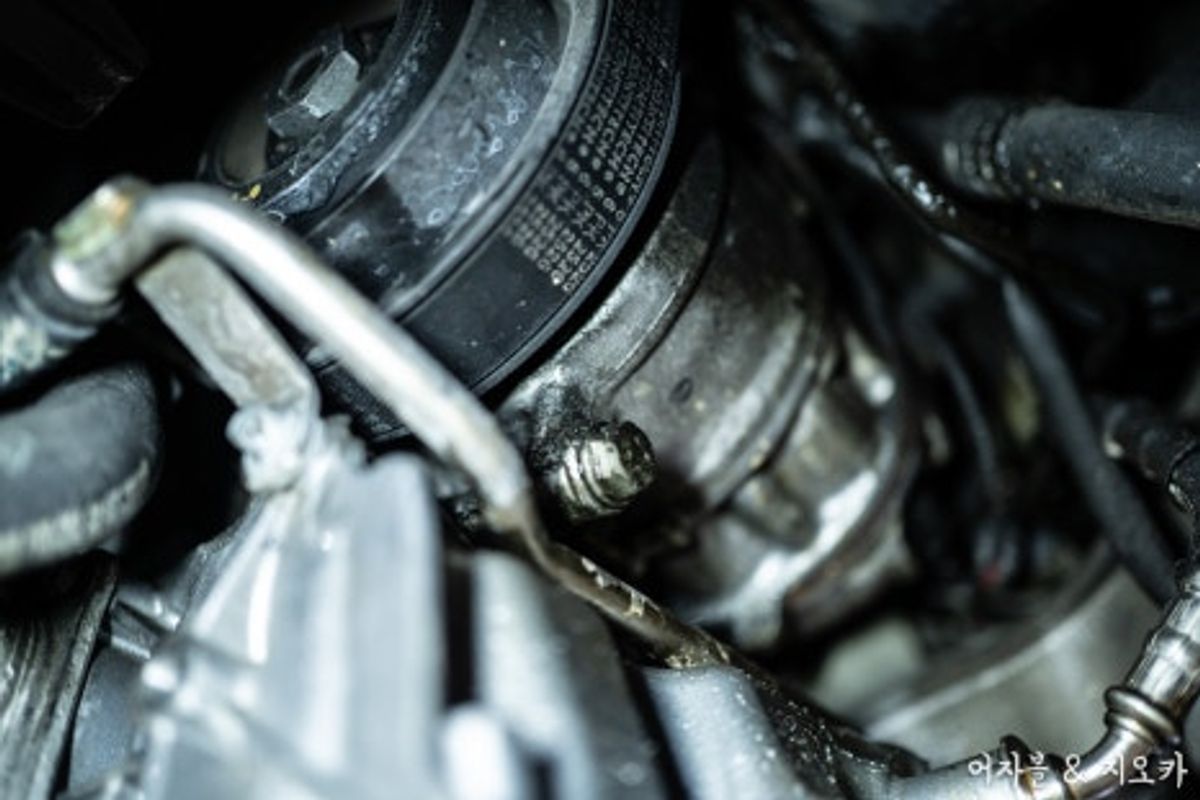
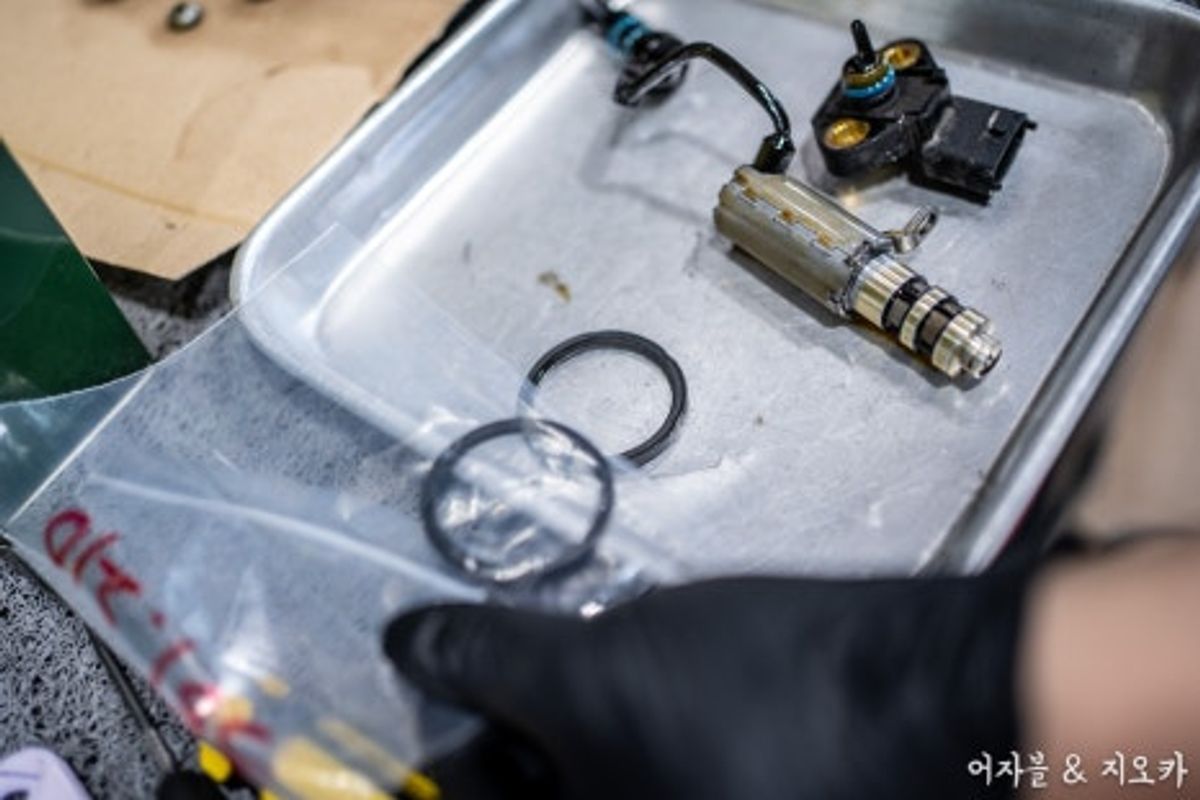
If the issue with the oil pressure sensor doesn't resolve it
Typically, it is recommended to replace both at the same time
You will also need to replace the oil solenoid valve.
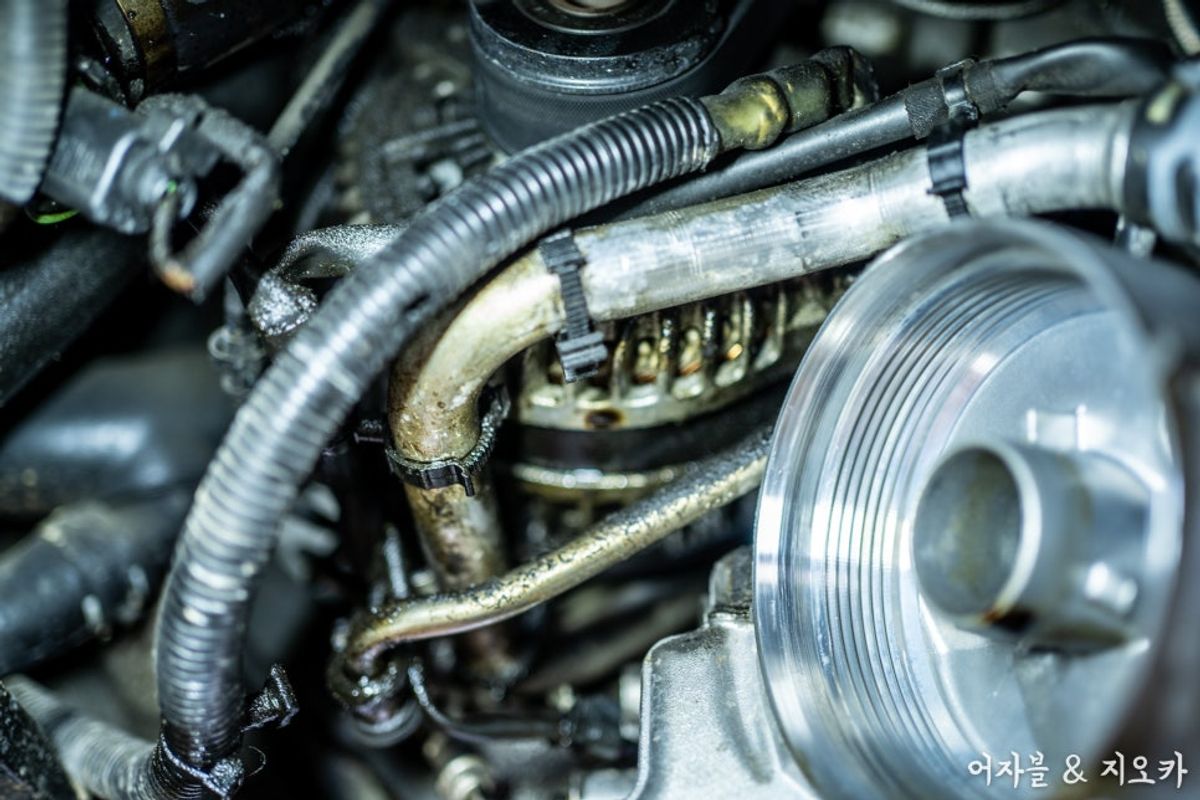
It may seem like a straightforward 1:1 maintenance just by looking at the photos, but


Thus, the labor costs will be significant, and
it takes a long time.
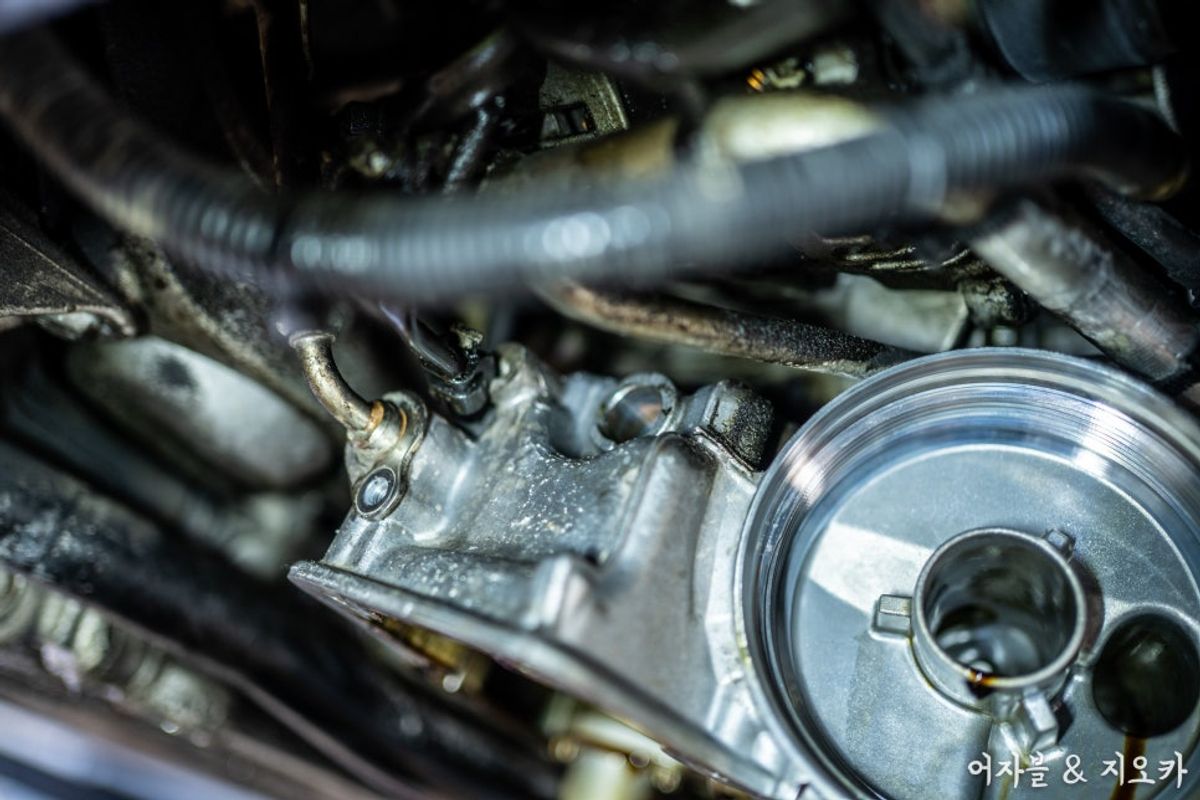
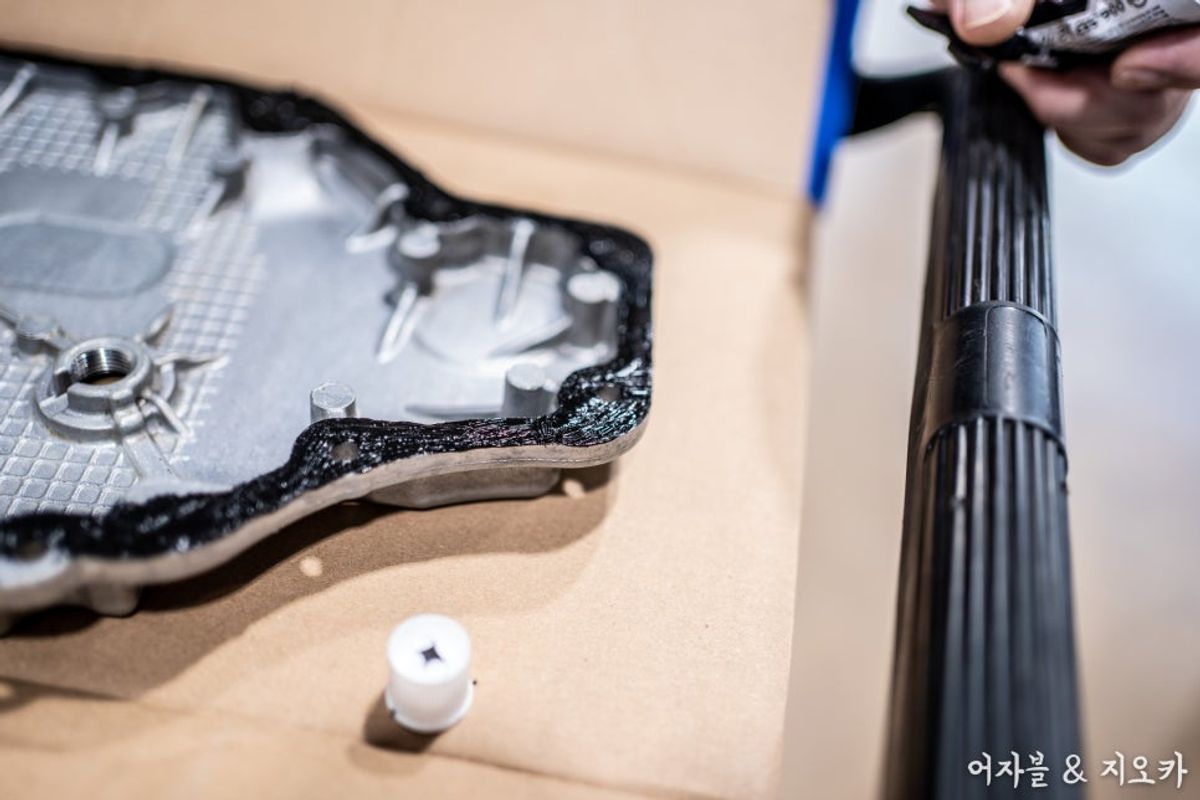
And you should know that when removing the oil pan, you need to replace the gasket
but the part is not sold separately ;(
This means that to use a new gasket, you need to use a new oil pan, and
the new one is... incredibly expensive.
So, according to the maintenance guidelines,
they recommend using silicone instead, haha.
The following photos show that we applied it well to finish up!
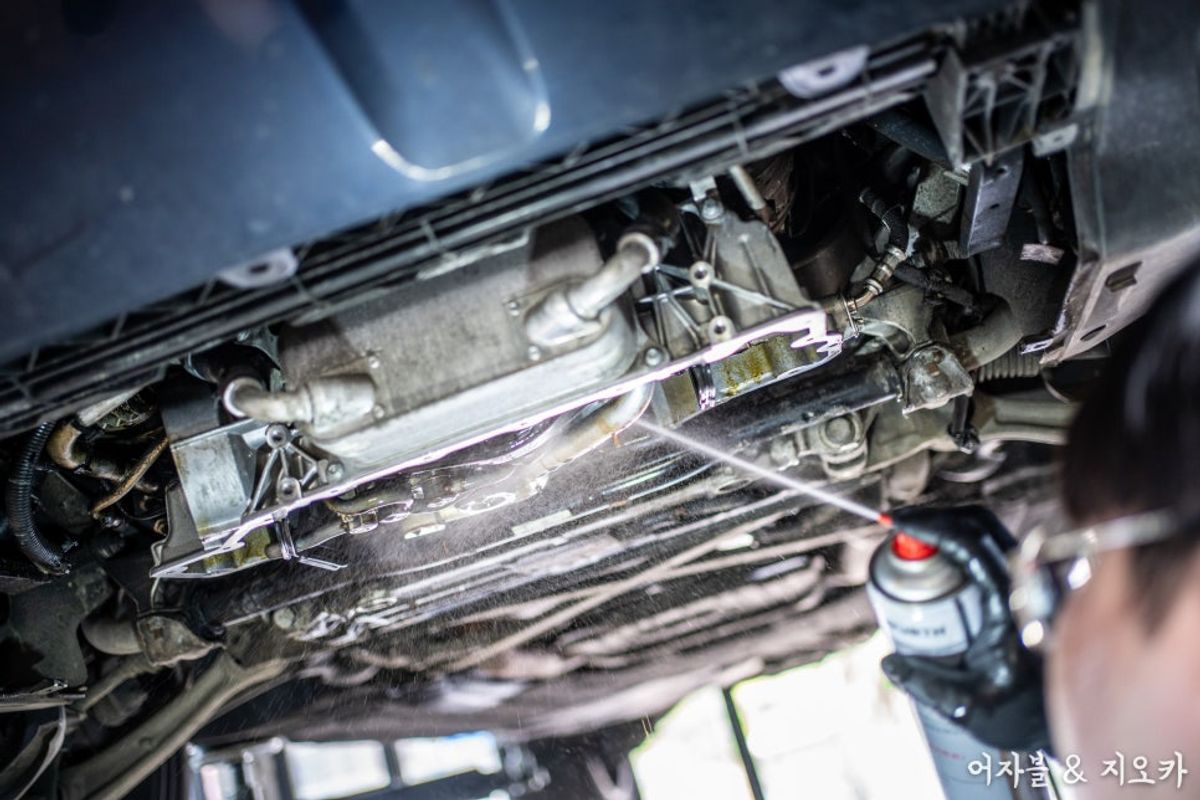
We will clean the vehicle and the parts
and then start reassembly.

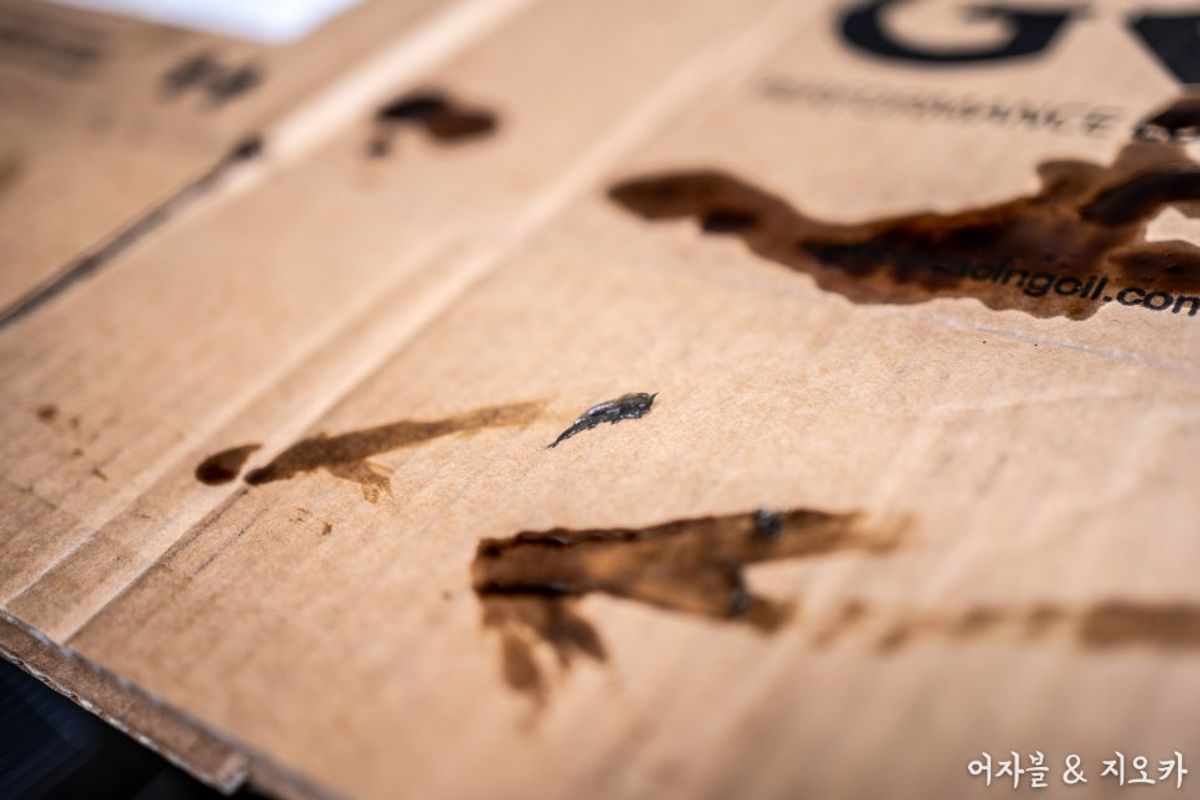
While working, oil kept leaking out, haha.
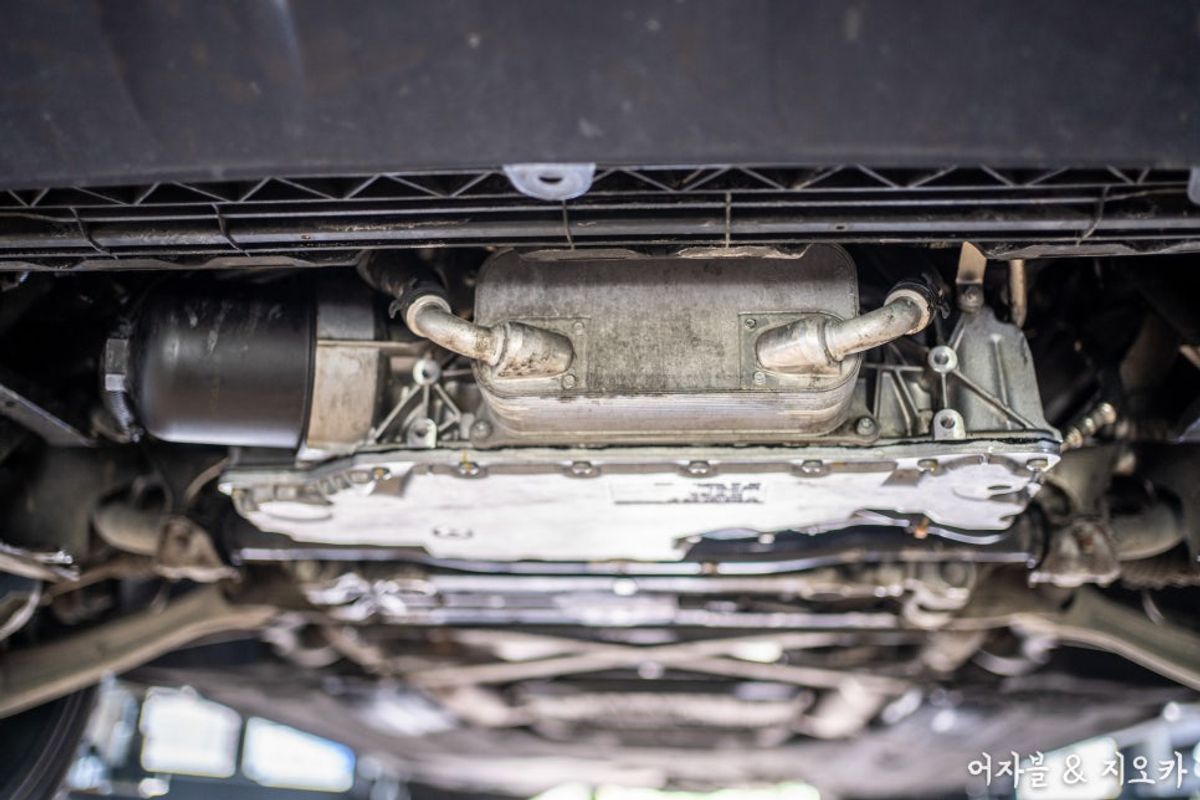
We apply silicone neatly and install the pan
We also replaced the oil pressure sensor
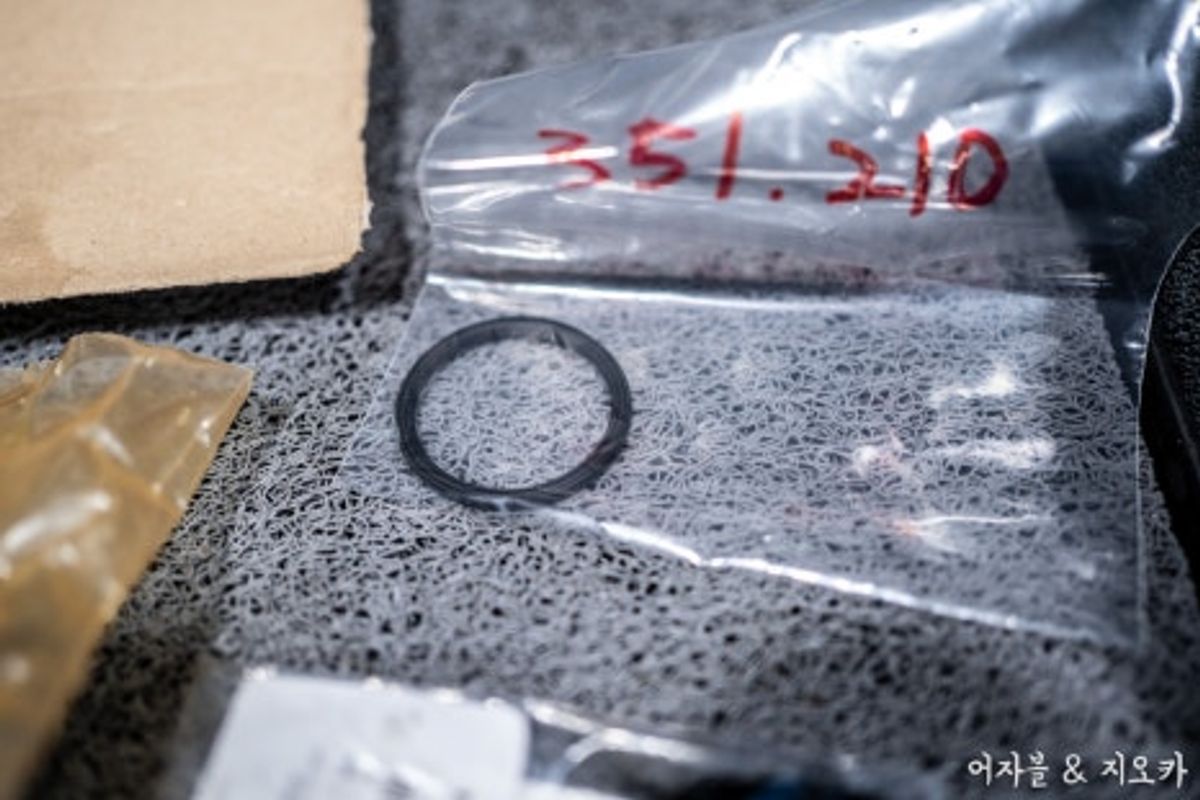
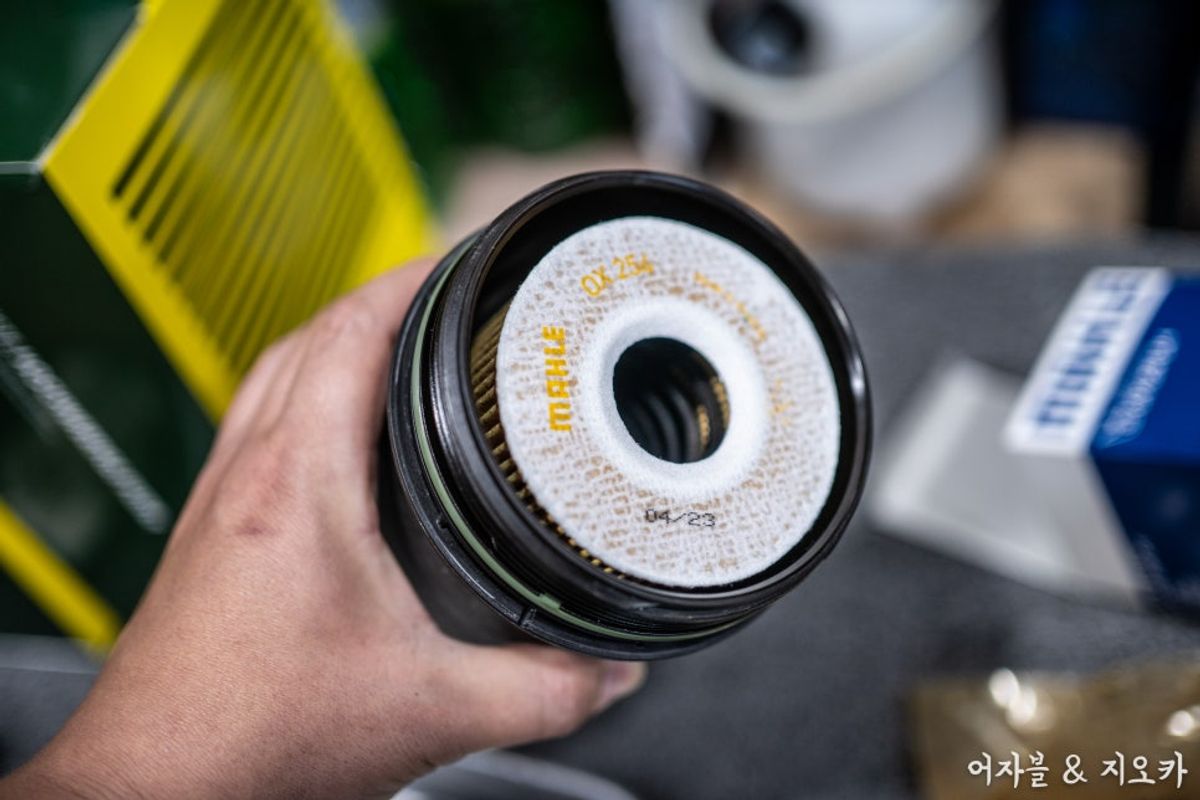
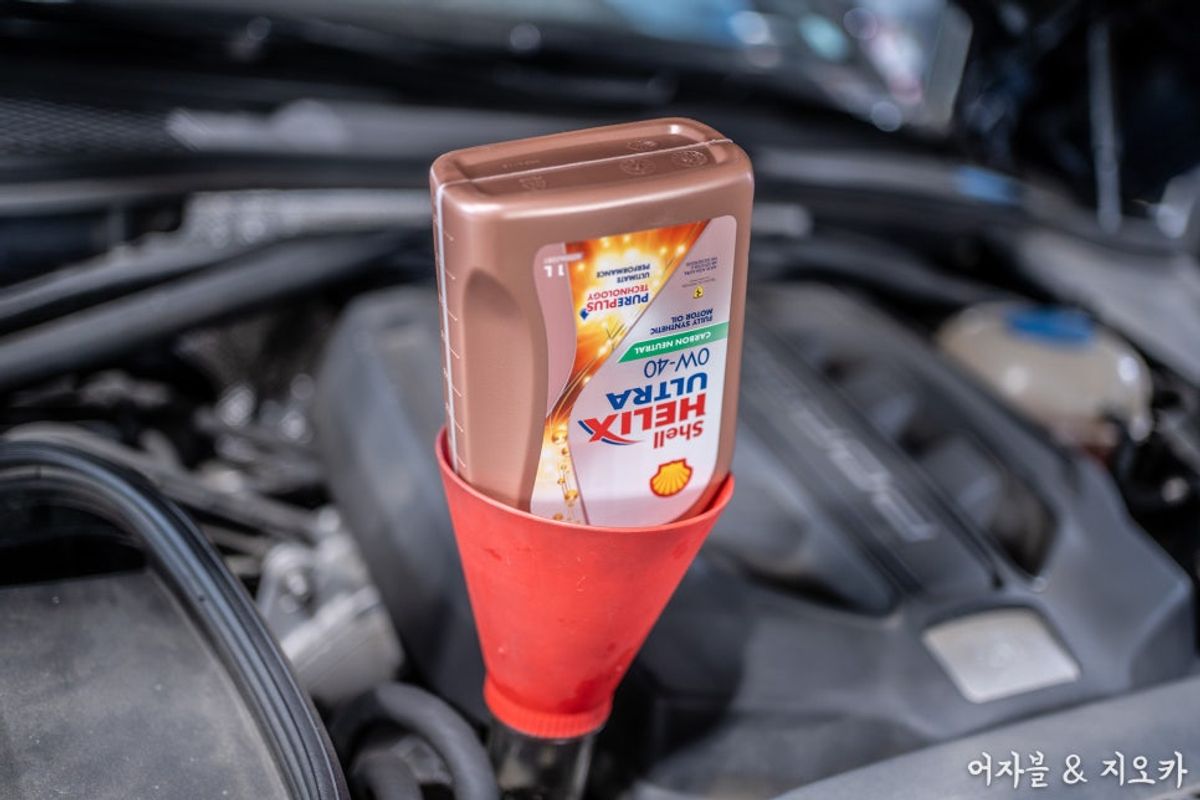
And during the engine oil change process
we replaced the oil filter with a Mahle filter and the O-ring
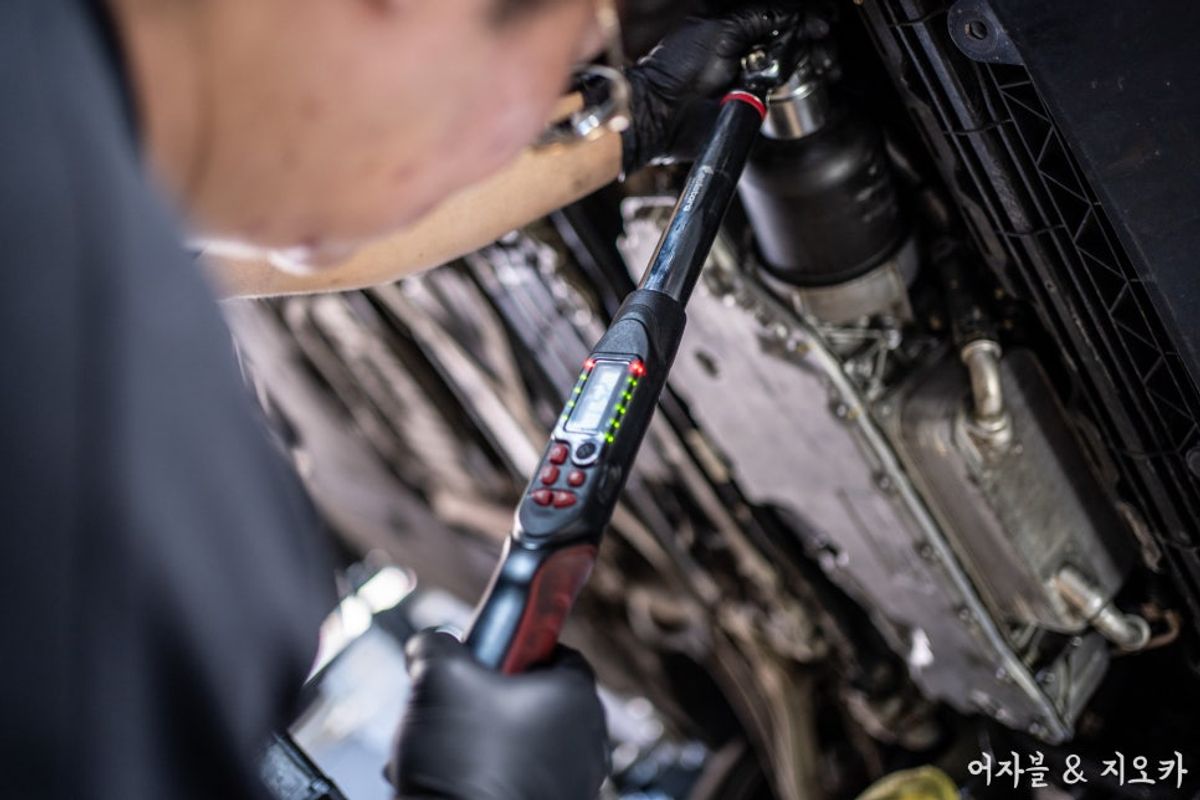
Once you secure it with a torque wrench
The maintenance of the lower engine fan is now complete
Since we used silicone to install the pan, it will need some time to cure
While cleaning the removed parts, we will finish up~
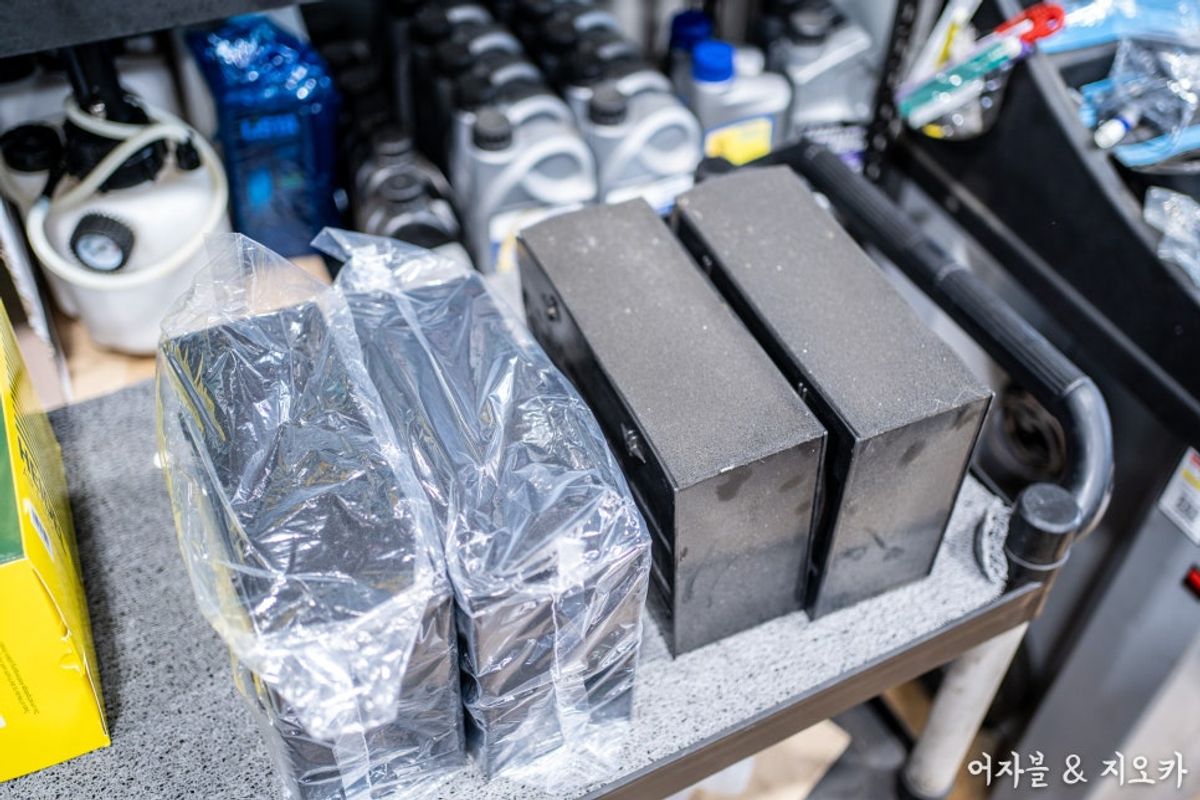
The air cleaner, which looks like a lunch box?! We replaced two of them
Interestingly, the filter price is high due to its unique design
but when comparing oil change costs, keep this in mind!
 Porsche engine oil is often thought to be Mobil 1
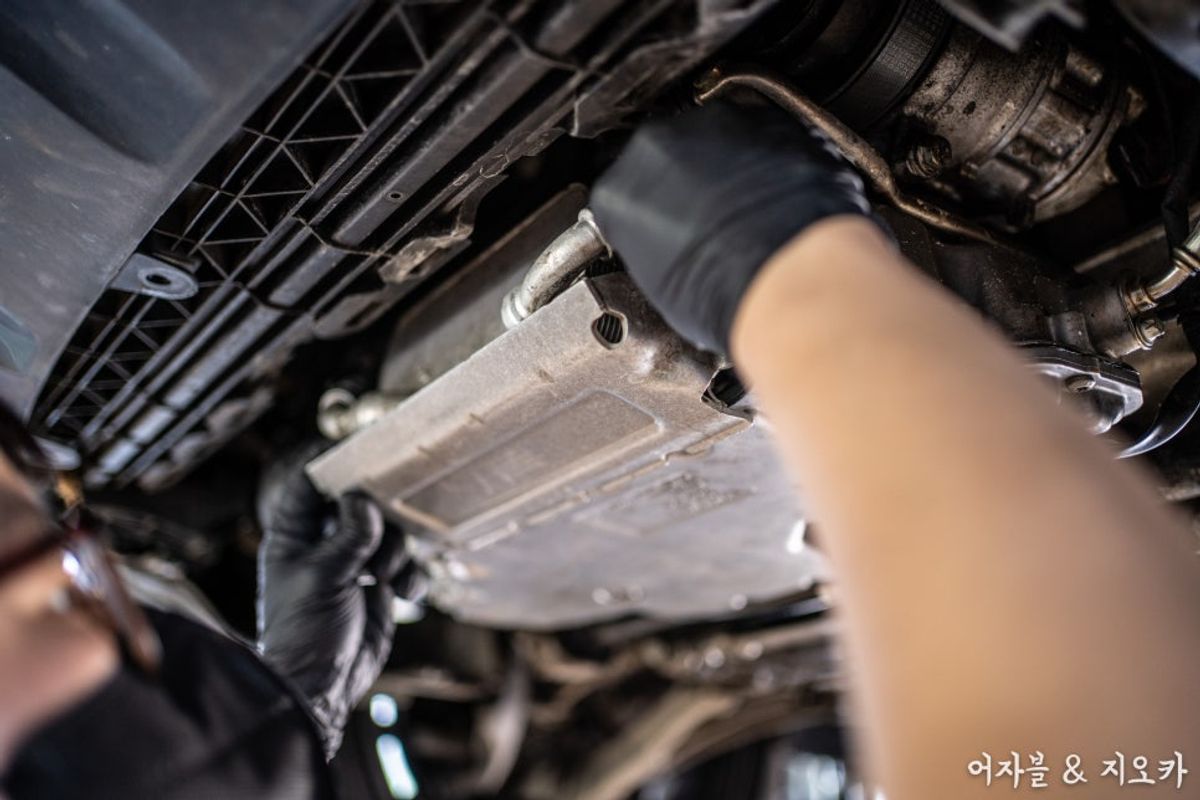 They are now comparable to most high-performance synthetic oils.
If you think otherwise and want to manage cost-effectively!
You will have many options, so consult before making your choice.
I mention this because
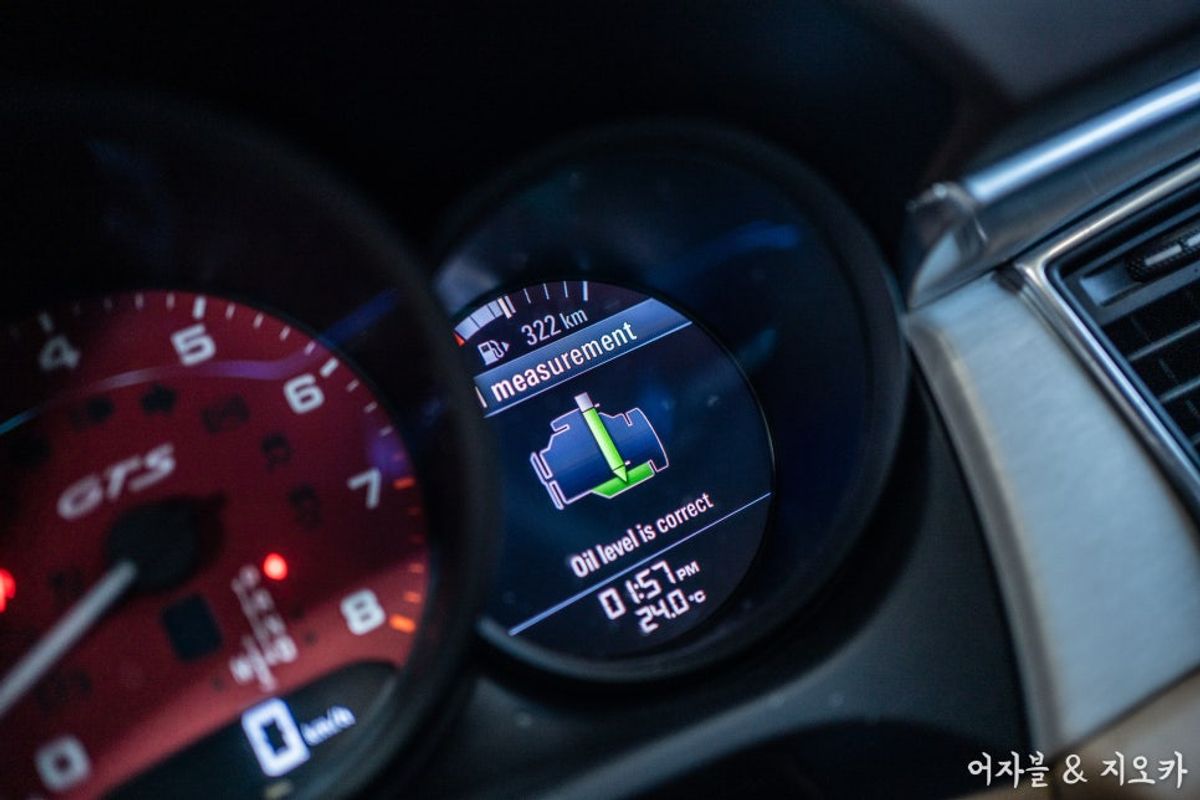
We set the leveling accurately to MAX
and reset the maintenance and oil intervals as well
After finishing everything
Delete the warning lights and proceed with the test drive!
Confirming that everything is fine, we conclude the maintenance.~
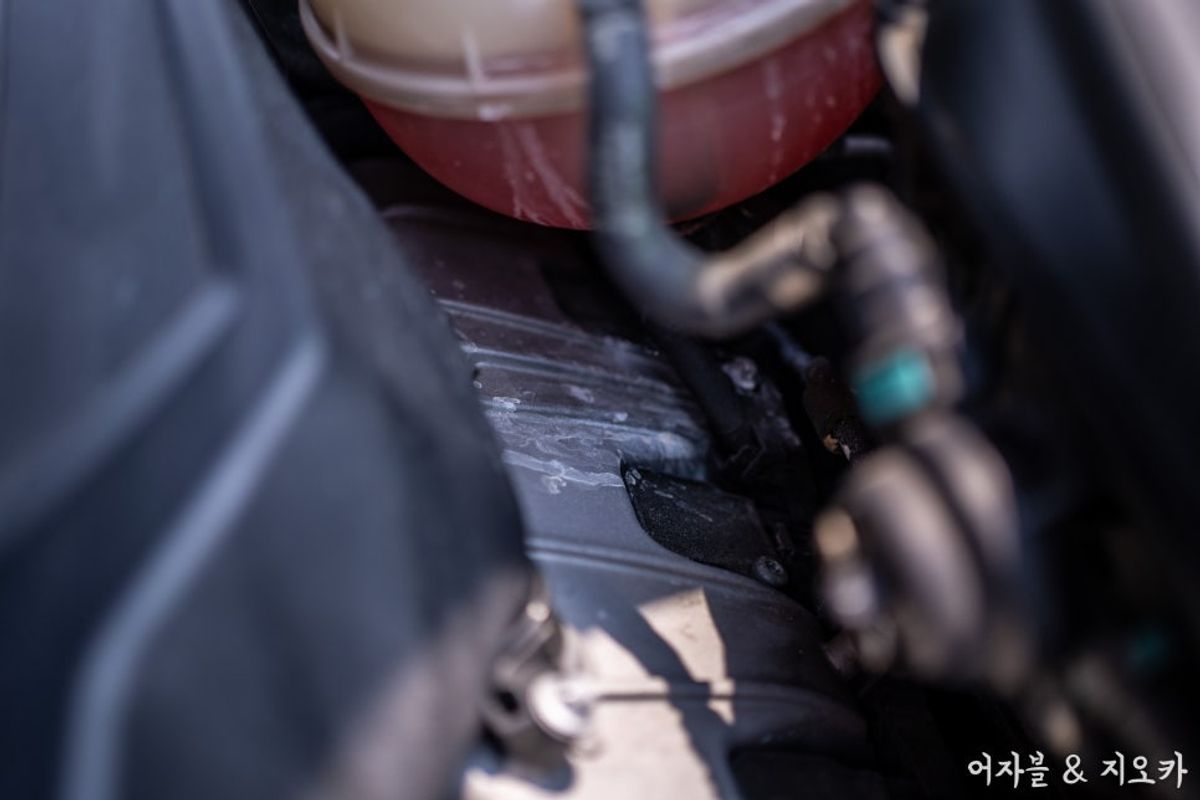
While cleaning the engine bay, we found traces of coolant leakage ;(
 When you call later for follow-up inquiries, it happens often that
While cleaning the engine bay, we found traces of coolant leakage ;(
I often forget since I work on so many vehicles, haha.;
 I hope everyone is doing well despite the tough economy...
That's all!